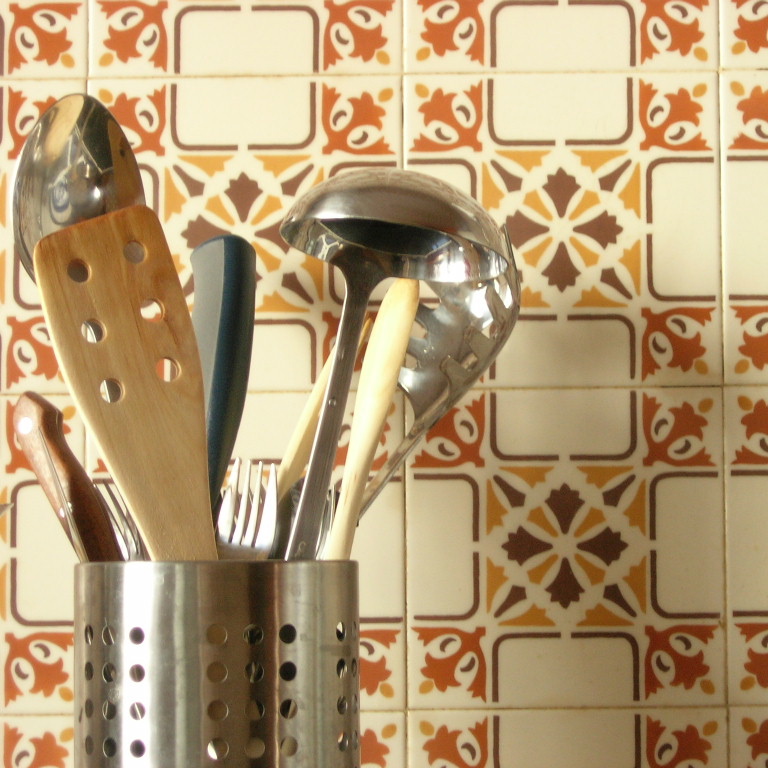
 Caked with bacon grease and the colors you chose ten years ago, your backsplashes are pleading with you, "Update us!" While this is not an excuse for you to sweep your messy walls under the rug, per se, it will give your kitchen a facelift and brighten your day too. Get started with planning.
You will need:
Tiles of your choosing
A backer board
Mesh Tape
Filler Compound
Screws
Screwdriver
Sandpaper
A pencil
Measuring Tape
Caulk
Grout
Rubber Float
Directions:
Decide where you want to install your new backsplash, take measurements (length and height), then start with a clean wall. Whether that means a soapy sponge and a little elbow grease or removing old tiles and sanding the walls down, new tiles will adhere better to a clean slate.
Tickle your creativity by coming up with a pattern all your own, or simply while choosing new tiles. Many backsplashes use tiles that are 4x4, 6x6 and 3x4 subway tiles. Unless you're a fan of moisture and grease soaked tiles, stick with glazed which are easier to clean and won't absorb your kitchen's liquids.
A backer board is recommended, especially for cases where the drywall was removed with the old tiles. Screw it into the wall studs, and cover with mesh tape and filler compound
To install your backsplash:
Move anything in the way of the installation process, including outlet covers. Shut off the power to the wall where new tiles will be installed.
Make markings on the wall where your tiles will be placed. This doesn't mean tracing every tile, but start from the middle or the focal point for reference and draw a single, straight, line so that all your tiles will line up.
Start from the focal point 1/8 of an inch above the countertop, and work your way left and right. Use a trowel to apply tile adhesive to the back of each tile. One eighth inch spacers should be placed in between each adhered tile. Similar to the space left at the bottom of the counter, the 1/8 inch gap will later be filled. The top and bottom will be filled with caulk. Spaces between each tile will be filled with grout (choose a caulk that is the same color as your grout).
Now just work your way up! Follow your pattern, and remember your spacers. Cut tiles if necessary (at the top of your backsplash area or around outlet covers). Do this right away, as leaving gaps in your backsplash pattern may throw off the overall design.
Fill in the gaps with grout:
Leave your tiles to dry overnight. Follow the directions on the container of sand-free grout and apply it using a rubber float . After an hour, clean grout from tile surfaces with a clean, wet sponge.
Read more and learn how to cut tiles here.
Source: Do It Yourself Photo: Monika Leon


